RESTful microservice using Springboot
In this tutorial, we will develop a RESTful microservice using spring boot.
Step 1 : Create a spring starter project
Refer below pom.xml file
<?xml version="1.0" encoding="UTF-8"?>
<project xmlns="http://maven.apache.org/POM/4.0.0"
	xmlns:xsi="http://www.w3.org/2001/XMLSchema-instance"
	xsi:schemaLocation="http://maven.apache.org/POM/4.0.0 https://maven.apache.org/xsd/maven-4.0.0.xsd">
	<modelVersion>4.0.0</modelVersion>
	<parent>
		<groupId>org.springframework.boot</groupId>
		<artifactId>spring-boot-starter-parent</artifactId>
		<version>2.6.6</version>
		<relativePath /> <!-- lookup parent from repository -->
	</parent>
	<groupId>com.javatrainingschool</groupId>
	<artifactId>spring-boot-app</artifactId>
	<version>0.0.1-SNAPSHOT</version>
	<name>spring-boot-app</name>
	<description>Demo project for Spring Boot</description>
	<properties>
		<java.version>1.8</java.version>
	</properties>
	<dependencies>
		<dependency>
			<groupId>org.springframework.boot</groupId>
			<artifactId>spring-boot-starter-web</artifactId>
		</dependency>

		<dependency>
			<groupId>org.springframework.boot</groupId>
			<artifactId>spring-boot-starter-data-jpa</artifactId>
		</dependency>
		<dependency>
			<groupId>com.h2database</groupId>
			<artifactId>h2</artifactId>
		</dependency>

		<dependency>
			<groupId>org.springframework.boot</groupId>
			<artifactId>spring-boot-starter-test</artifactId>
			<scope>test</scope>
		</dependency>
	</dependencies>

	<build>
		<plugins>
			<plugin>
				<groupId>org.springframework.boot</groupId>
				<artifactId>spring-boot-maven-plugin</artifactId>
			</plugin>
		</plugins>
	</build>

</project>
Step 2 : Set up application.properties file
We will use in-memory h2 database for this example. Use below settings in application.properties file
server.port=8081

spring.application.name= Simple Spring Boot App

spring.datasource.driver-class-name=org.h2.Driver
spring.datasource.url=jdbc:h2:mem:bootapp;DB_CLOSE_DELAY=-1
spring.datasource.username=sa
spring.datasource.password=sa

spring.jpa.defer-datasource-initialization=true
spring.jpa.show-sql=true

spring.h2.console.enabled=true
Step 3 : Create entity class Drink.java
package com.javatrainingschool.entity;

import javax.persistence.Entity;
import javax.persistence.GeneratedValue;
import javax.persistence.GenerationType;
import javax.persistence.Id;
import javax.persistence.Table;

@Entity
@Table(name = "Drink")
public class Drink {

	@Id
	@GeneratedValue(strategy = GenerationType.AUTO)
	private int id;

	private String name;
	private String type;
	private int price;

	public Drink() {
		super();
		// TODO Auto-generated constructor stub
	}

	public Drink(int id, String name, String type, int price) {
		super();
		this.id = id;
		this.name = name;
		this.type = type;
		this.price = price;
	}

	public int getId() {
		return id;
	}

	public void setId(int id) {
		this.id = id;
	}

	public String getName() {
		return name;
	}

	public void setName(String name) {
		this.name = name;
	}

	public String getType() {
		return type;
	}

	public void setType(String type) {
		this.type = type;
	}

	public int getPrice() {
		return price;
	}

	public void setPrice(int price) {
		this.price = price;
	}

	@Override
	public String toString() {
		return "Drink [id=" + id + ", name=" + name + ", type=" + type + ", price=" + price + "]";
	}

}
Step 4 : Create repository interface
package com.javatrainingschool.repository;

import java.util.List;

import org.springframework.data.repository.CrudRepository;

import com.javatrainingschool.entity.Drink;

public interface DrinkRepository extends CrudRepository<Drink, Integer>{

	List<Drink> findByName(String name);

}
Step 5 : Create Rest Controller class DrinkController.java
package com.javatrainingschool.controller;

import java.util.List;

import org.springframework.beans.factory.annotation.Autowired;
import org.springframework.http.HttpStatus;
import org.springframework.web.bind.annotation.DeleteMapping;
import org.springframework.web.bind.annotation.GetMapping;
import org.springframework.web.bind.annotation.PathVariable;
import org.springframework.web.bind.annotation.PostMapping;
import org.springframework.web.bind.annotation.PutMapping;
import org.springframework.web.bind.annotation.RequestBody;
import org.springframework.web.bind.annotation.RequestMapping;
import org.springframework.web.bind.annotation.ResponseStatus;
import org.springframework.web.bind.annotation.RestController;

import com.javatrainingschool.entity.Drink;
import com.javatrainingschool.repository.DrinkRepository;

@RestController
@RequestMapping("/api/drink")
public class DrinkController {


    @Autowired
    private DrinkRepository drinkRepo;

    @GetMapping
    public Iterable<Drink> findAll() {
        return drinkRepo.findAll();
    }

    @GetMapping("/name/{drinkName}")
    public List<Drink> findByName(@PathVariable String drinkName) {
        return drinkRepo.findByName(drinkName);
    }

    @GetMapping("/{id}")
    public Drink findOne(@PathVariable Integer id) {
        return drinkRepo.findById(id);
    }

    @PostMapping("/create")
    @ResponseStatus(HttpStatus.CREATED)
    public Drink create(@RequestBody Drink drink) {
        return drinkRepo.save(drink);
    }

    @DeleteMapping("delete/{id}")
    public void delete(@PathVariable Integer id) {
        drinkRepo.findById(id);
        drinkRepo.deleteById(id);
    }

    @PutMapping("update/{id}")
    public Drink updateDrink(@RequestBody Drink drink, @PathVariable Integer id) {
        drinkRepo.findById(id);
        return drinkRepo.save(drink);
    }

}
Step 6 : Add data.sql file under src/main/resources folder
insert into drink (id, name, type, price) values (101, 'Cappi Nirvana', 'cold', 399);
insert into drink (id, name, type, price) values (102, 'Pineapple punch', 'cold', 249);
insert into drink (id, name, type, price) values (103, 'Aam Pana', 'cold', 199);
Step 6 : Run and test the microsrevice
Since this is a microservice, we need to have a REST client to test it. Postman is one such client which we will use in this tutorial. Postman is a tool which is used to test RESTful web/microservices.
If you do not have Postman already installed on your machine, click here to install it.
After Postman is installed. Open it and hit below urls.
Get all drinks request
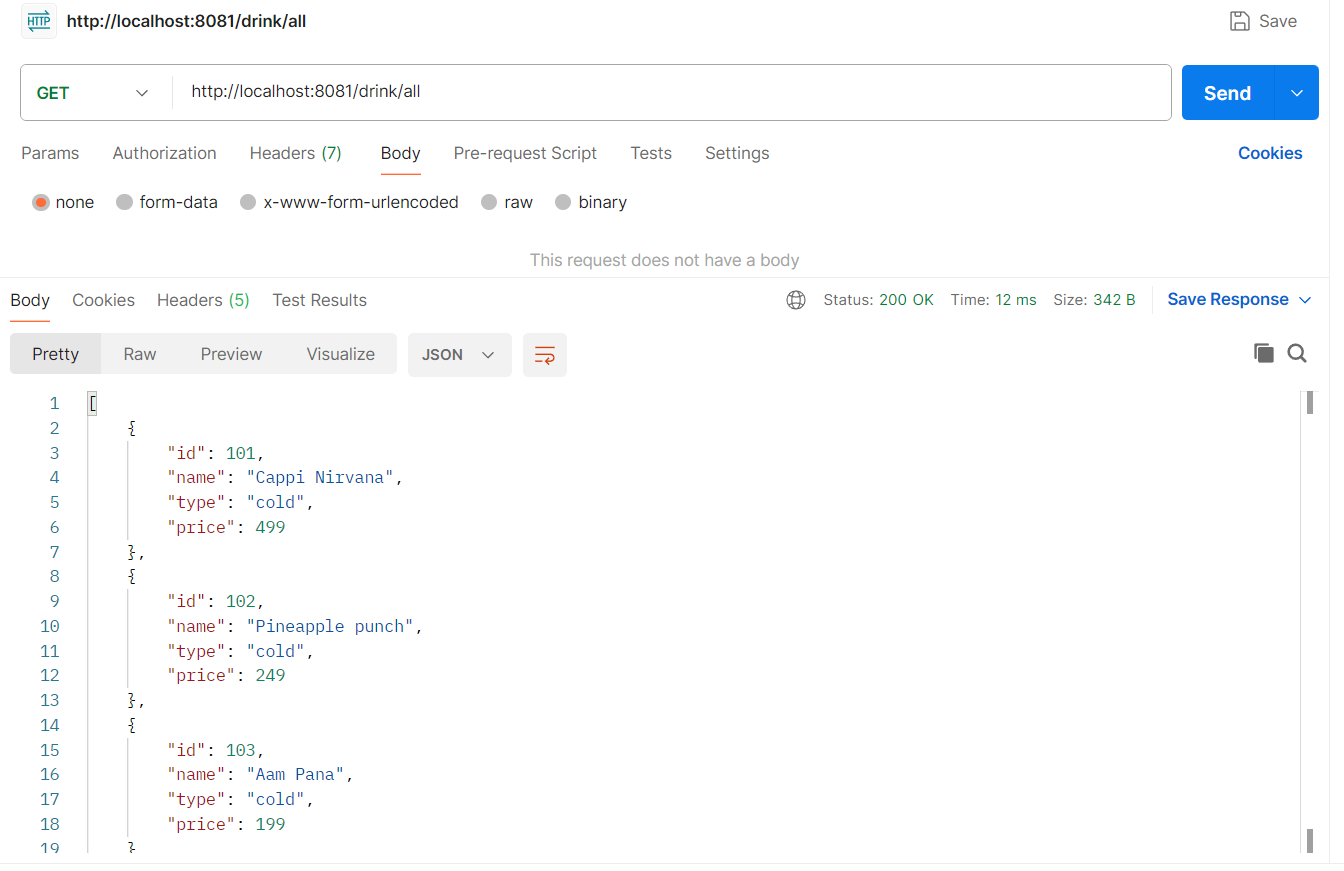
Create Drink Request
Json request/response for Create Drink end point. Please note that this will be a post request.
Request
{
    "name" : "Cold Coffee",
    "type" : "Cold drink",
    "price": 230
}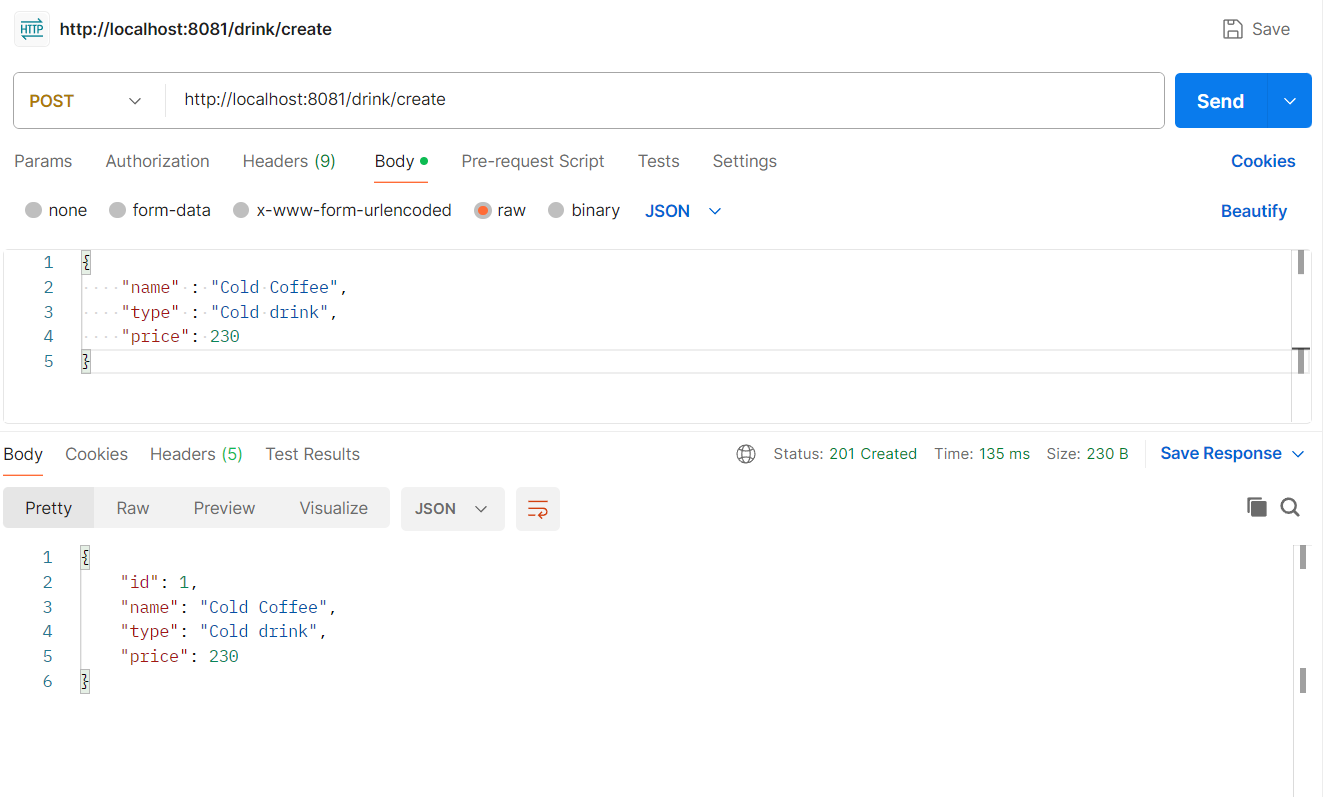
Similary, you can create more drinks with different values.
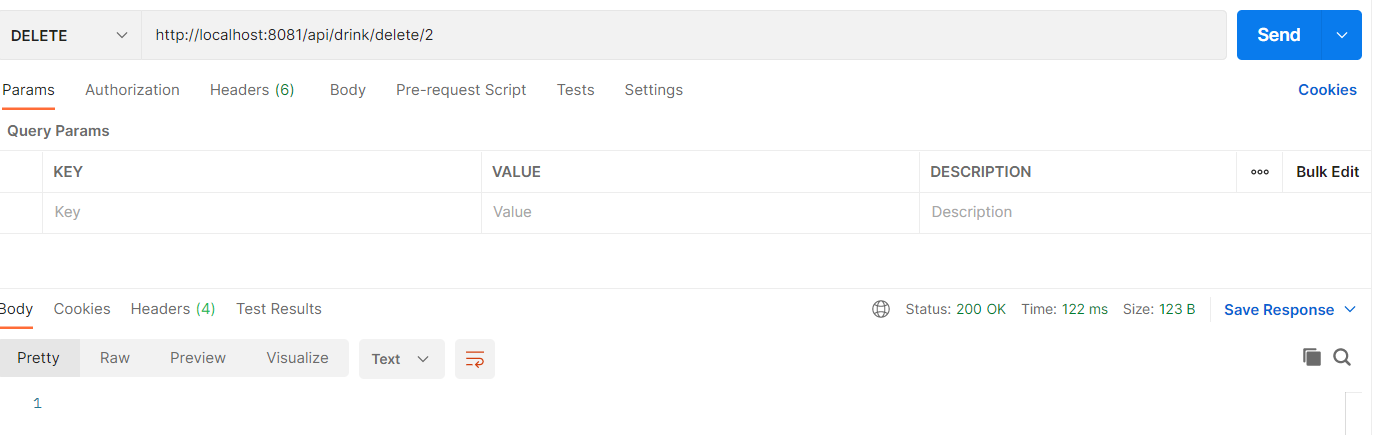
Delete a drink request
Simlilary, a drink can be deleted.
Update drink request
Request
{
    "id"   : 1,
    "name" : "Cappuccino",
    "type" : "Hot Coffee",
    "price": 149
}
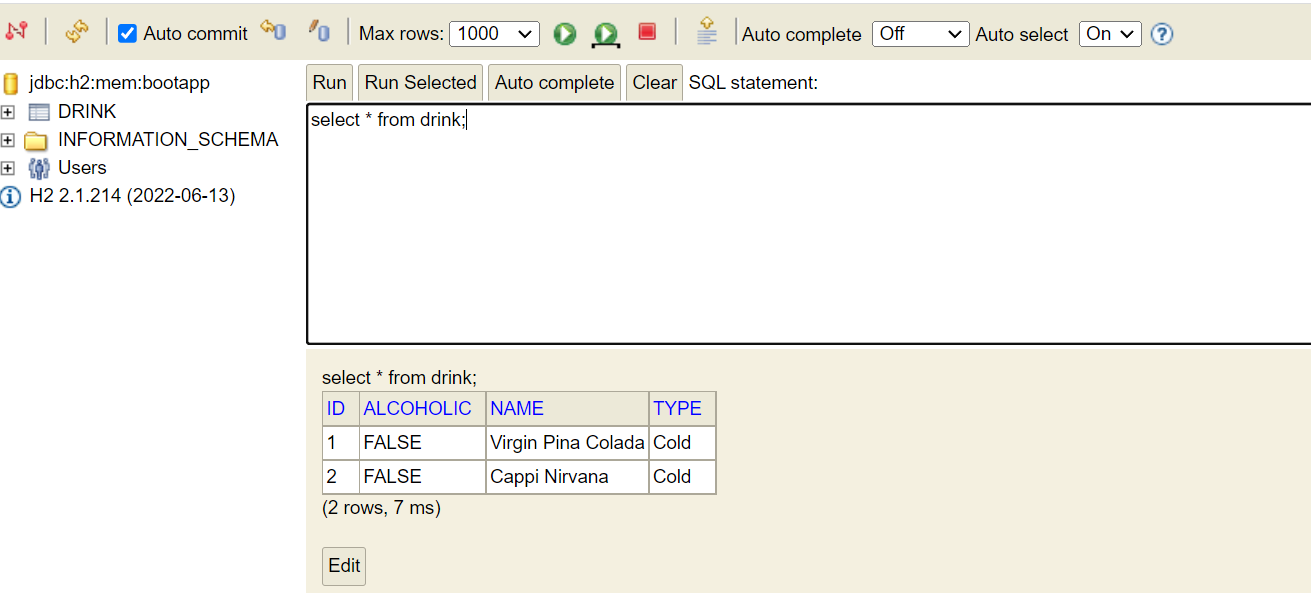
Enable h2 console
Database h2 can also be accessed to verify the records. For that, you need enable h2-console.
Add below property to enable h2-console.
spring.h2.console.enabled=trueHit the below url to access h2-console. port will be the one on which your microservice is running
http://localhost:8081/h2-console