First spring boot web application
In this tutorial, we will build our first spring boot web application. Following tools we will be using for the purpose.
- Java 1.8 or higher version
- Spring Initializr web tool
- maven
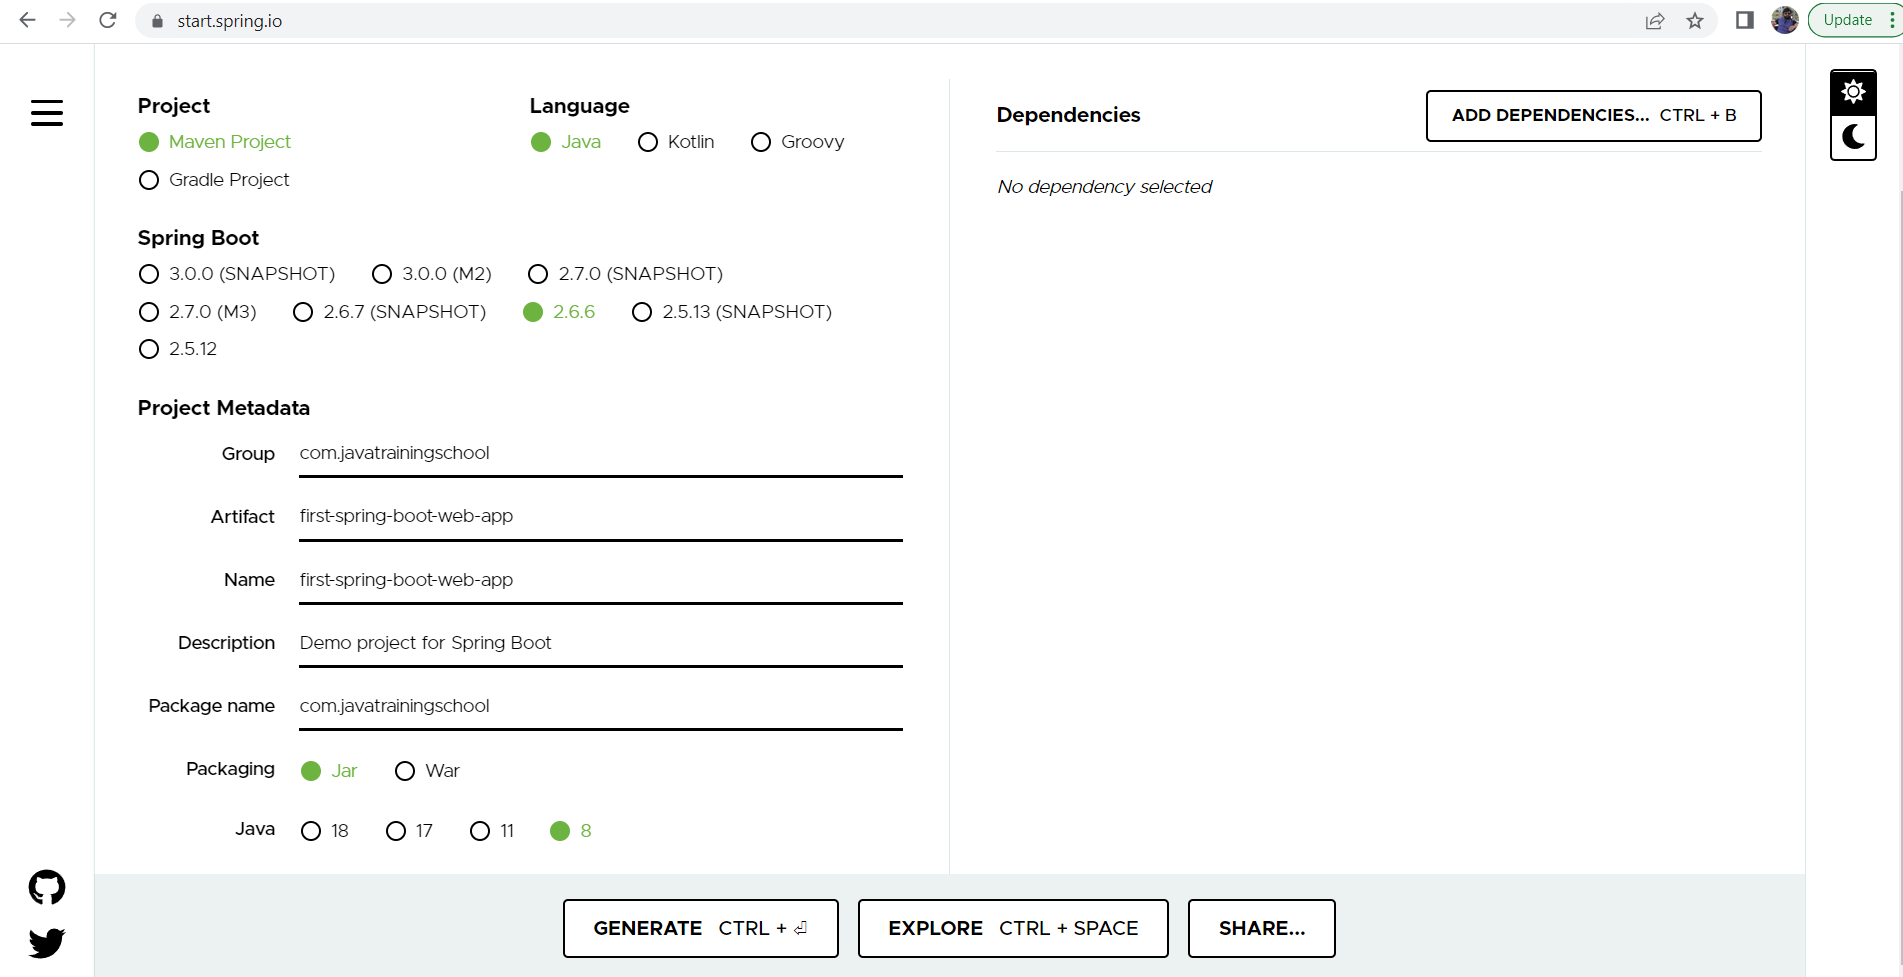
1. Create a maven project using Spring Initializr web tool
Go to the website https://start.spring.io/ and provide the maven project information like groupId, artifactId, description etc
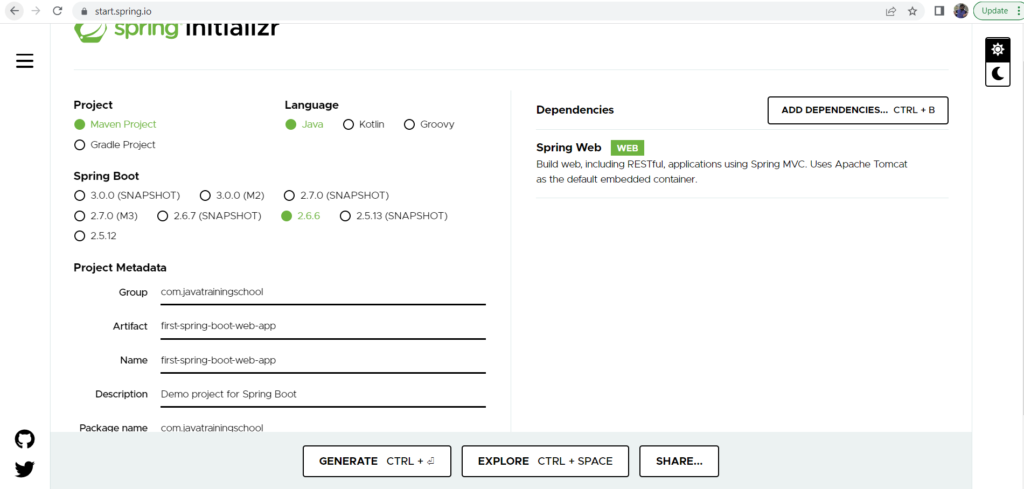
2. Add Dependency
Click on ‘Add Dependencies’ on right side corner and Type web in there. Add web dependency and click on generate. It will download the project on your local machine.
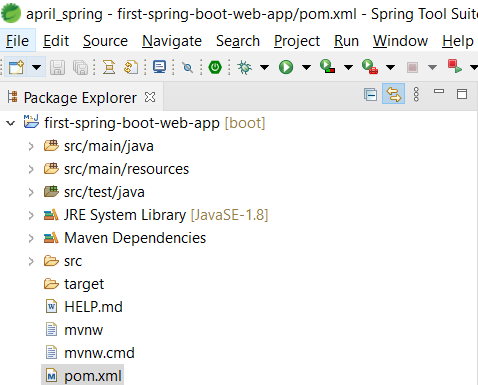
2. Unzip the project and import into STS
3. Verify pom.xml
Verify your pom.xml. It should contain spring-boot-starter-web dependency
<?xml version="1.0" encoding="UTF-8"?>
<project xmlns="http://maven.apache.org/POM/4.0.0" xmlns:xsi="http://www.w3.org/2001/XMLSchema-instance"
	xsi:schemaLocation="http://maven.apache.org/POM/4.0.0 https://maven.apache.org/xsd/maven-4.0.0.xsd">
	<modelVersion>4.0.0</modelVersion>
	<parent>
		<groupId>org.springframework.boot</groupId>
		<artifactId>spring-boot-starter-parent</artifactId>
		<version>2.6.6</version>
		<relativePath/> <!-- lookup parent from repository -->
	</parent>
	<groupId>com.javatrainingschool</groupId>
	<artifactId>first-spring-boot-web-app</artifactId>
	<version>0.0.1-SNAPSHOT</version>
	<name>first-spring-boot-web-app</name>
	<description>Demo project for Spring Boot</description>
	<properties>
		<java.version>1.8</java.version>
	</properties>
	<dependencies>
		<dependency>
			<groupId>org.springframework.boot</groupId>
			<artifactId>spring-boot-starter-web</artifactId>
		</dependency>

		<dependency>
			<groupId>org.springframework.boot</groupId>
			<artifactId>spring-boot-starter-test</artifactId>
			<scope>test</scope>
		</dependency>
	</dependencies>

	<build>
		<plugins>
			<plugin>
				<groupId>org.springframework.boot</groupId>
				<artifactId>spring-boot-maven-plugin</artifactId>
			</plugin>
		</plugins>
	</build>

</project>
4. Write you web application controller
Create a controller class for this web application. We have @RestController annotation and @RequestMapping annotation. @RestController makes it a rest controller and @RequestMapping maps the request url with the method.
package com.javatrainingschool;
import org.springframework.web.bind.annotation.RequestMapping;
import org.springframework.web.bind.annotation.RestController;
@RestController
@RequestMapping("/test")
public class TestingController {
@RequestMapping("/welcome")
public String welcome() {
return "Welcome to your first spring boot application";
}
@RequestMapping("/home")
public String home() {
return "This is the home url";
}
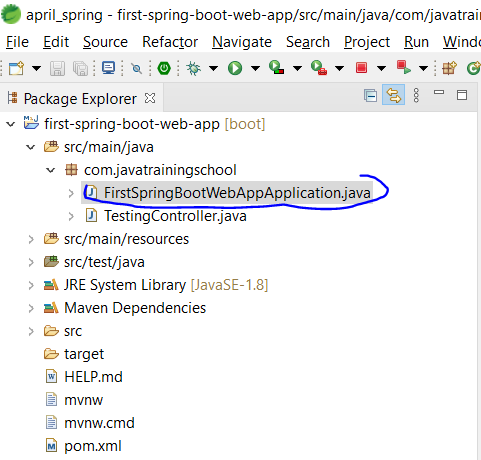
}5. Locate the spring boot application class with main method
There should be a java file in your project which is annotated with @SpringBootApplication and has main method. This is the entry point for your spring boot application. Right click on it and run the application as a java application.
You will see following output on your console.
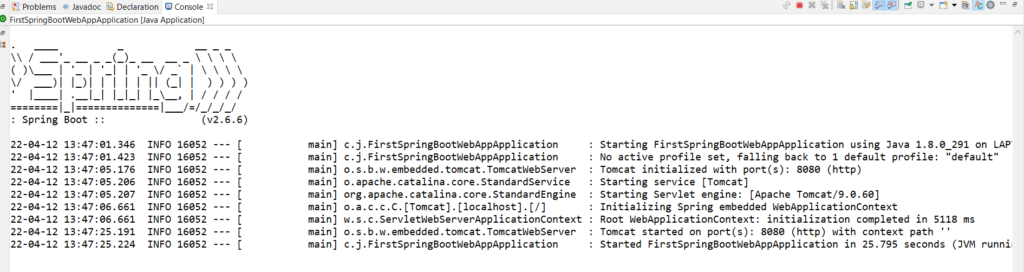
As we can see, our web application is up and running on tomcat on port no 8080.
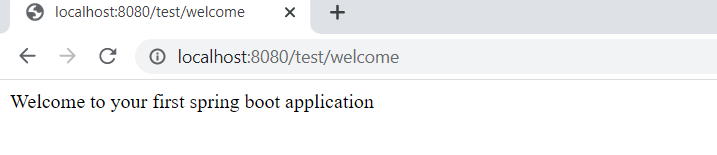
6. Test the application
Since, we have created a rest service as our web application, we can test it by sending a request from the browser. Hit the below url and verify your output.
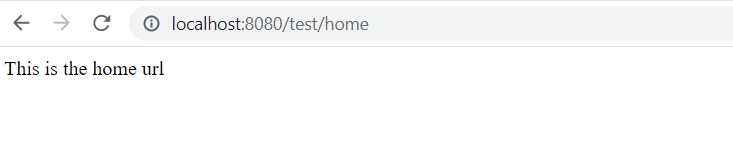
Test another rest endpoint
- Home
- Java
- Java Fundamentals
- What is Java
- History of Java
- Java Version History
- Local Environment Set-up
- First Java Program
- How to set ‘Path’ env variable
- JDK, JRE, and JVM
- Object Oriented Programming
- Java Data Types
- Classes in Java
- Objects in Java
- Interfaces in java
- Class attributes and methods
- Methods In Java
- Variables and Constants in Java
- Java packages and Imports
- Access Modifiers In Java
- Java Operators
- Constructors in Java
- Control Statements – If else
- Control Statements – Loops
- Arrays in Java
- Java Abstraction
- Java Inheritance
- Polymorphism
- Java Exception Handling
- Strings in Java
- File IO
- Java Miscellaneous
- Design Patterns
- Java Fundamentals
- Collections
- Multithreading
- Java New Features
- Servlet
- JSP
- Spring
- Spring-Introduction
- First Spring Application
- Setter Injection
- Constructor injection
- Spring annotations
- Autowiring
- @Autowired Annotation Spring
- Spring MVC
- Spring JdbcTemplate
- Spring jdbcTemplate with MySQL
- Spring AOP
- Spring AOP Examples
- Various pointcut expressions in Spring AOP
- Download and configure Tomcat server
- Hibernate
- Architecture
- Hibernate Example
- First Hibernate Application (using xml configuration)
- First Hibernate Application (using annotations)
- JPA/HB – annotations
- Hibernate Identifiers
- Hibernate Generator Classes
- Save vs saveOrUpdate vs persist in Hibernate
- Inheritance Mapping in Hibernate
- Inheritance Mapping using annotations
- Hibernate Mapping
- Hibernate Query Language (HQL)
- HCQL Hibernate Criteria Query Language
- Hibernate Named Query
- Hibernate Caching
- Second Level Cache
- Spring Boot
- Spring Boot Basics
- Spring Boot Web
- Spring Boot Exception Handling
- Service discovery using Netflix Eureka
- Springboot OpenAPI/Swagger3
- Zuul Proxy Server + Routing
- Spring Cloud Gateway
- Spring Boot Security
- Circuit Breaker using Spring Boot Hystrix
- Interservice Communication
- Spring Boot Hateoas Links Example
- Lombok api
- Spring Boot with Mongo DB
- Load Balancer in Springboot
- Spring Boot Testing
- Spring Web Flux
- Database
- Web Service
- HTML
- Blog & Programs
- Docker
- Trainings