Hello Servlet Example using Maven
Now, without wasting any time, let’s see our first servlet in action. We will understand various things about servlets via this program.
In order to create any servlet class, we have to implement Servlet interface and override its methods.
Servlet interface
javax.servlet.Servlet interface has following methods. Please note that these methods are invoked by the servlet container (also known as web server) in which the servlet is deployed.
| Servlet Interface Methods | Method Signature | Description |
|---|---|---|
| init | public void init (ServletConfig config) | It initializes the servlet. |
| service | public void service (ServletRequest request, ServletResponse response) | It is used to serve the requests that are intended for the servlet. |
| destroy | public void destroy() | It is invoked just before the servlet is destroyed |
| getServletConfig | public ServletConfig getServletConfig() | It returns ServletConfig object. |
| getServletInfo | public String getServletInfo() | It gets Servlet info. |
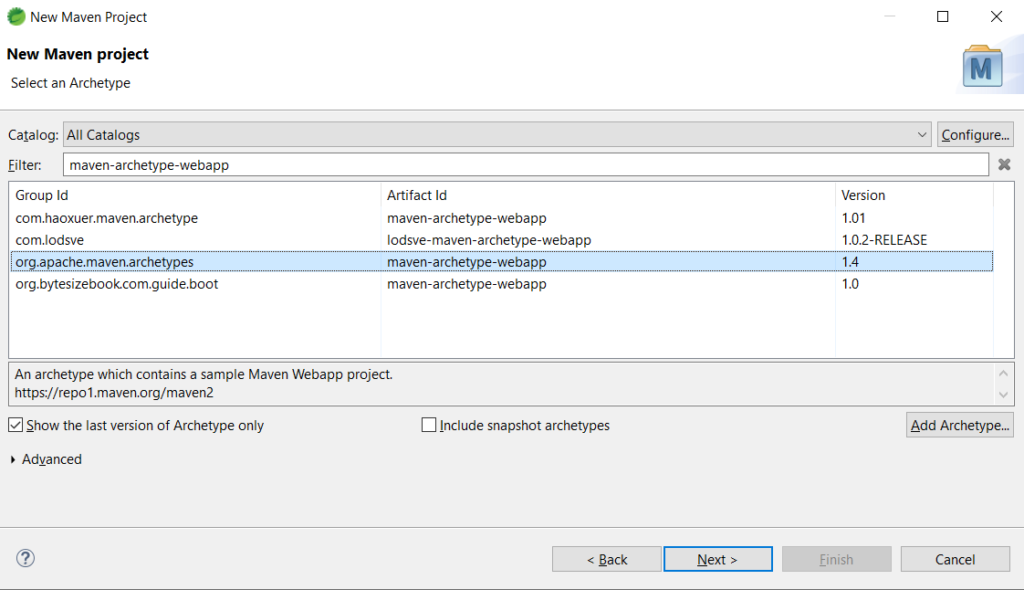
Step 1 – Create a maven project
Create a maven project in eclipse and select archetype as ‘maven-archetype-webapp’. Choose groupId as ‘org.apache.maven.archetypes’ as shown below
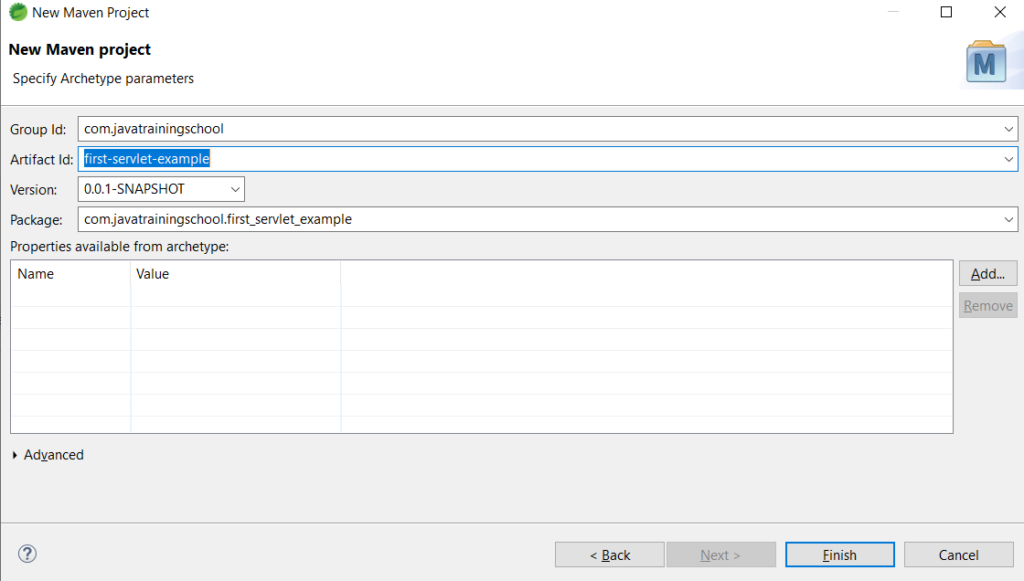
provide the project details as shown below
Project structure would look like this
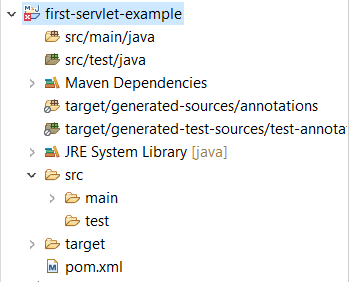
Note -> If archetype doesn’t create src/main/java folder, then you can create this folder manually. Also, change the java compiler version to 1.8
Step 2. Add the servlet dependencies
Change the below properties
<maven.compiler.source>1.8</maven.compiler.source>
<maven.compiler.target>1.8</maven.compiler.target>
Add below dependency in the pom.xml
<!-- https://mvnrepository.com/artifact/javax.servlet/javax.servlet-api -->
<dependency>
    <groupId>javax.servlet</groupId>
    <artifactId>javax.servlet-api</artifactId>
    <version>4.0.1</version>
    <scope>provided</scope>
</dependency>
Complete pom.xml
<?xml version="1.0" encoding="UTF-8"?>

<project xmlns="http://maven.apache.org/POM/4.0.0"
	xmlns:xsi="http://www.w3.org/2001/XMLSchema-instance"
	xsi:schemaLocation="http://maven.apache.org/POM/4.0.0 http://maven.apache.org/xsd/maven-4.0.0.xsd">
	<modelVersion>4.0.0</modelVersion>

	<groupId>com.javatrainingschool</groupId>
	<artifactId>first-servlet-example</artifactId>
	<version>0.0.1-SNAPSHOT</version>
	<packaging>war</packaging>

	<name>first-servlet-example Maven Webapp</name>
	<!-- FIXME change it to the project's website -->
	<url>http://www.example.com</url>

	<properties>
		<project.build.sourceEncoding>UTF-8</project.build.sourceEncoding>
		<maven.compiler.source>1.8</maven.compiler.source>
		<maven.compiler.target>1.8</maven.compiler.target>
	</properties>

	<dependencies>
		<!-- https://mvnrepository.com/artifact/javax.servlet/javax.servlet-api -->
		<dependency>
			<groupId>javax.servlet</groupId>
			<artifactId>javax.servlet-api</artifactId>
			<version>4.0.1</version>
			<scope>provided</scope>
		</dependency>

		<dependency>
			<groupId>junit</groupId>
			<artifactId>junit</artifactId>
			<version>4.11</version>
			<scope>test</scope>
		</dependency>
	</dependencies>

	<build>
		<finalName>first-servlet-example</finalName>
		<pluginManagement><!-- lock down plugins versions to avoid using Maven
				defaults (may be moved to parent pom) -->
			<plugins>
				<plugin>
					<artifactId>maven-clean-plugin</artifactId>
					<version>3.1.0</version>
				</plugin>
				<!-- see http://maven.apache.org/ref/current/maven-core/default-bindings.html#Plugin_bindings_for_war_packaging -->
				<plugin>
					<artifactId>maven-resources-plugin</artifactId>
					<version>3.0.2</version>
				</plugin>
				<plugin>
					<artifactId>maven-compiler-plugin</artifactId>
					<version>3.8.0</version>
				</plugin>
				<plugin>
					<artifactId>maven-surefire-plugin</artifactId>
					<version>2.22.1</version>
				</plugin>
				<plugin>
					<artifactId>maven-war-plugin</artifactId>
					<version>3.2.2</version>
				</plugin>
				<plugin>
					<artifactId>maven-install-plugin</artifactId>
					<version>2.5.2</version>
				</plugin>
				<plugin>
					<artifactId>maven-deploy-plugin</artifactId>
					<version>2.8.2</version>
				</plugin>
			</plugins>
		</pluginManagement>
	</build>
</project>
Now right click on the pom.xml and Run As -> Maven install.
Then right click on the project and Maven -> Update project (select force update option)
Step 3 – Write a servlet class
Now, let’s write our first servlet class
package com.javatrainingschool;

import java.io.IOException;
import java.io.PrintWriter;

import javax.servlet.ServletException;
import javax.servlet.http.HttpServlet;
import javax.servlet.http.HttpServletRequest;
import javax.servlet.http.HttpServletResponse;

public class FirstServlet extends HttpServlet {

	private static final long serialVersionUID = 1L;

	public void doGet(HttpServletRequest req, HttpServletResponse res) throws ServletException, IOException {

		res.setContentType("text/html");

		//We need printwriter object to write html content
		PrintWriter pw = res.getWriter();

		// writing html in the stream
		pw.println("<html><body>");
		pw.println("Welcome to my first servlet");
		pw.println("</body></html>");

		pw.close();// close the stream

	}
}
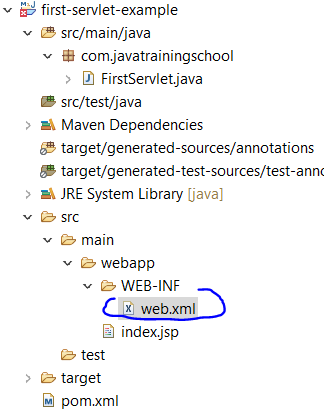
Step 4 – Make servlet entry in web.xml
Servlet is needed to be mapped in web.xml file as shown below
Location of web.xml
Under the <servlet> element, first we map servlet class along with the package to a name. And then under <servlet-mapping> element, the same name of the servlet is mapped with the <url-pattern> of the incoming request.
<!DOCTYPE web-app PUBLIC
 "-//Sun Microsystems, Inc.//DTD Web Application 2.3//EN"
 "http://java.sun.com/dtd/web-app_2_3.dtd" >

<web-app>
  <display-name>Archetype Created Web Application</display-name>
  <servlet>
  	<servlet-class>com.javatrainingschool.FirstServlet</servlet-class>
  	<servlet-name>firstServlet</servlet-name>
  </servlet>
  <servlet-mapping>
  	<servlet-name>firstServlet</servlet-name>
  	<url-pattern>/hello</url-pattern>
  </servlet-mapping>

</web-app>
Step 5- deploy and run the application on the Tomcat server
Click on Windows -> Show View -> Other in eclipse and type servers in the below window

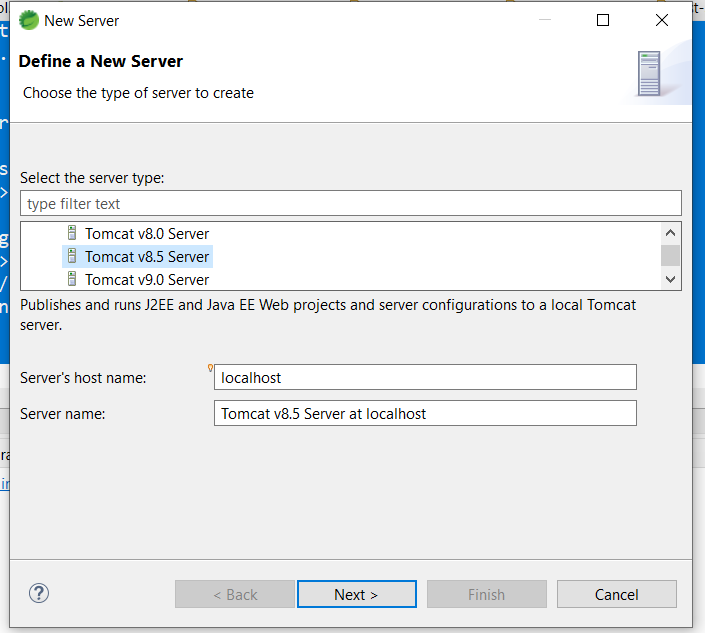
Now, define a new server according to the version of tomcat installed on your local machine. If you have not installed tomcat, then download from here.
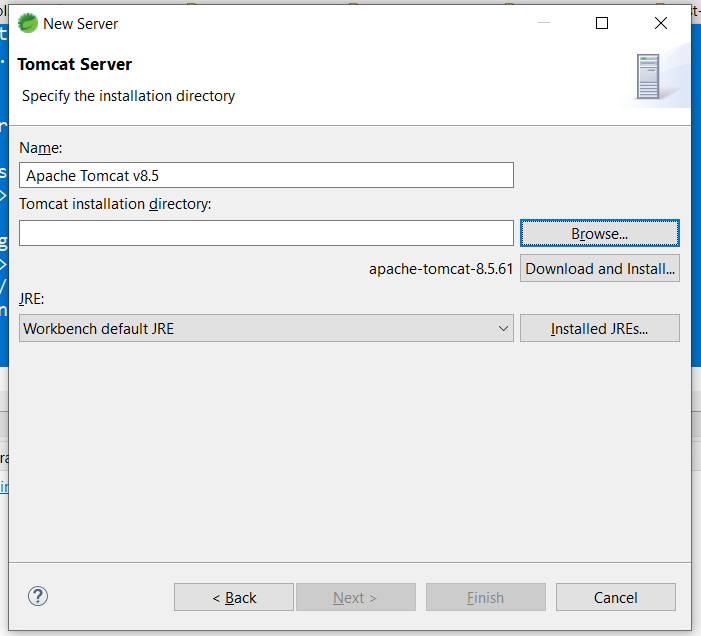
Browse and select your installation directory
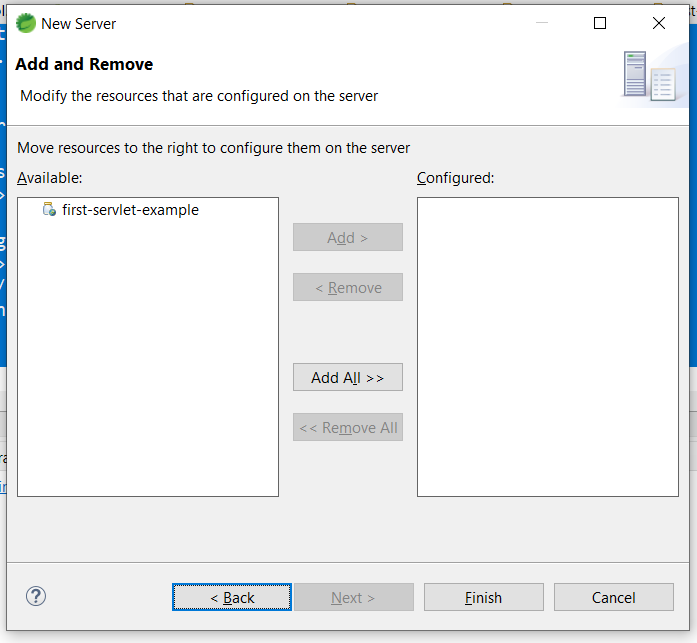
Add your servlet application to the server
Now, we can see the server in our eclipse

Start the server and verify the console.
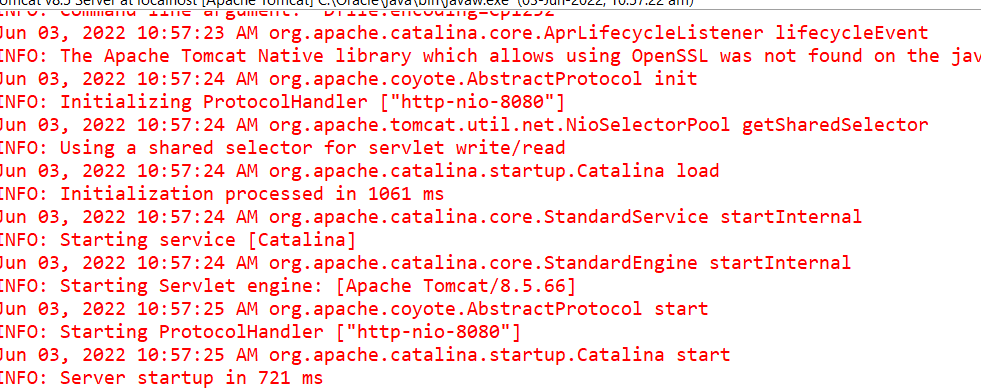
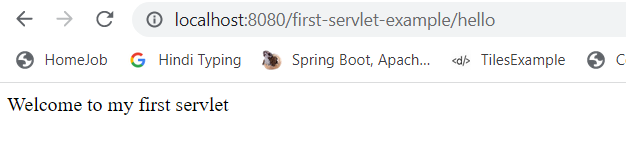
If there is no error in the console, and the server is successfully started, hit the below url in the browser to access the servlet.
http://localhost:8080/first-servlet-example/hello
In the above url, 8080 is the port on which tomcat is running. first-servlet-example is called the context root of the web application, which is usually the name of the project.
Now, since you have created your first servlet based web appilcation, you deserve a fine cup of coffee. Enjoy your drink.