Generate SSH keys and add to GIT Bash
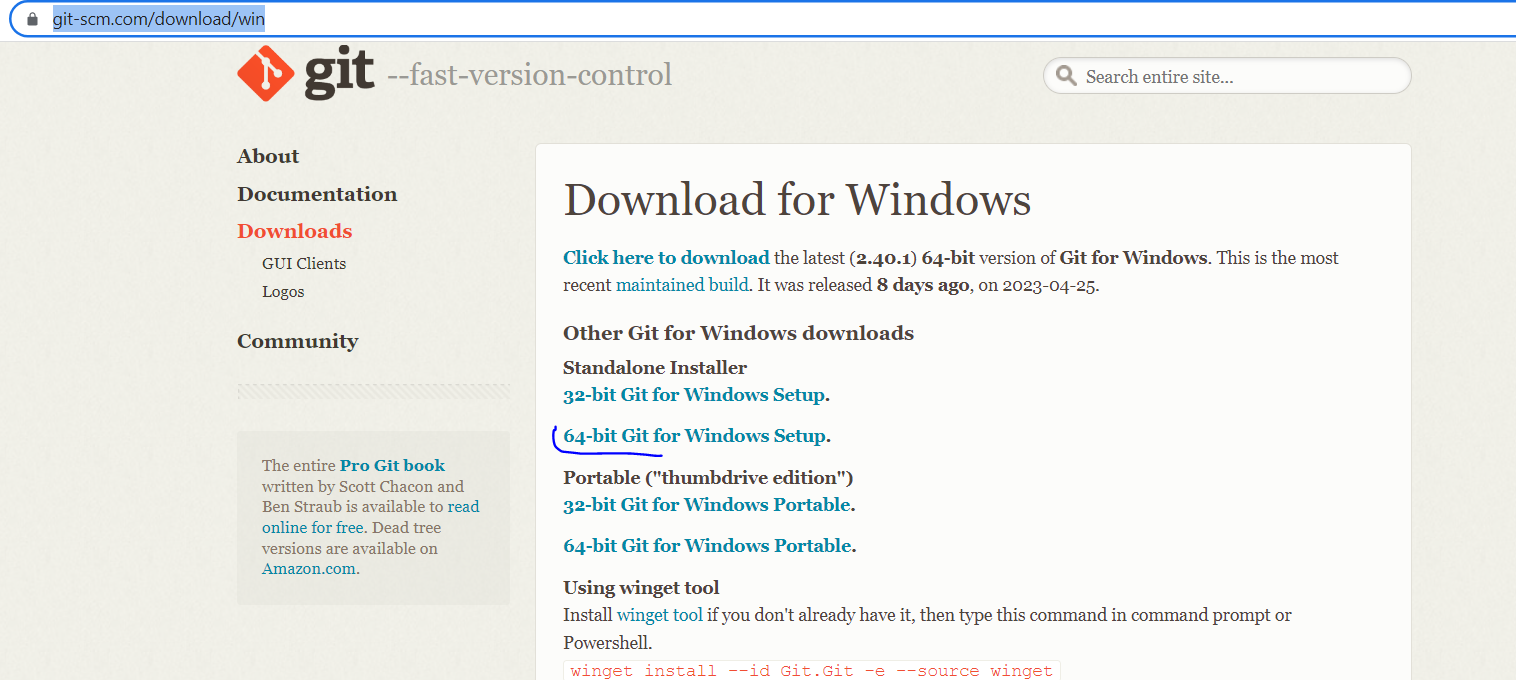
Step 1: Download and install git from the below link
https://git-scm.com/download/win
Step 2: Open gitbash and go to the folder where you want to keep your ssh keys

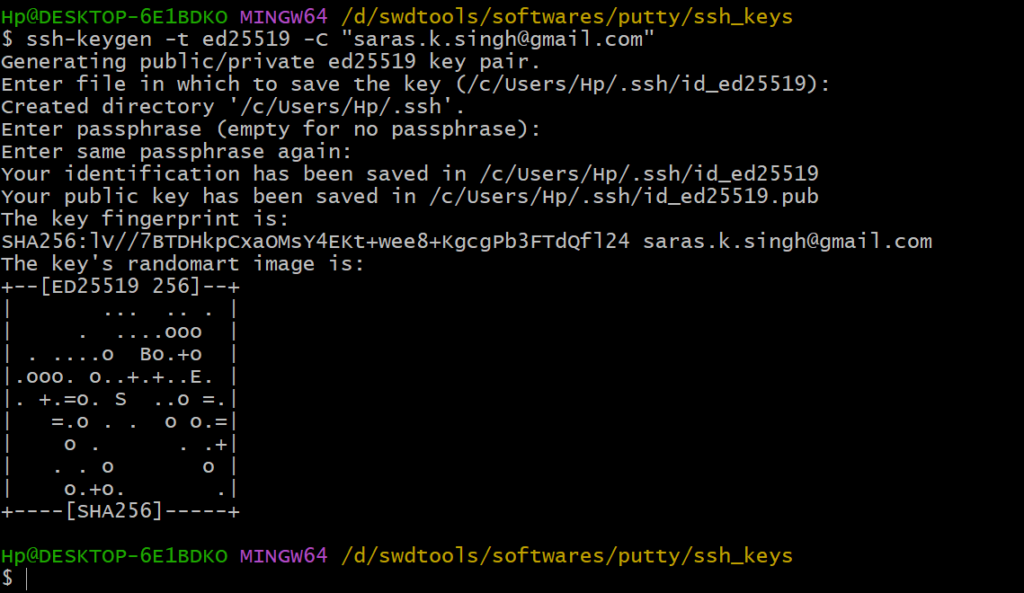
Step 3: Run the below command to generate private/public key pair
ssh-keygen -t ed25519 -C "saras.k.singh@gmail.com"Press enter to accept the default file name and location. Or if you want to give any specific name and location, then you can do so as well.
Here I am accepting the default name and location by simply clicking on ‘Enter’ button.

Step 4: It will then prompt for a passphrase. You can choose any passphrase(like a password). In this example, I am entering it changeit
Reconfirm it by entering the same passphrase again. After it is successful, below screen should appear
Add SSH key to ssh-agent
Now this key is to be added to ssh-agent.
Step 5: Start ssh-agent by running below command
eval $(ssh-agent -s)
Step 6: Change your directory to where ssh keys have been stored

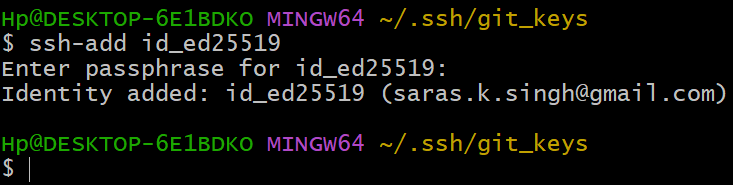
Step 7: Run below command to add the ssh private key
ssh-add id_ed25519It will ask for the passphrase. Enter it. In this case, I am entering changeit
If successfully done, you should get below message
Add public key to github account
As the next and final step, we need to add the public key to the github account. If you don’t have one already, create one by signing up with the same email address that you used to create the ssh keys in the above steps.
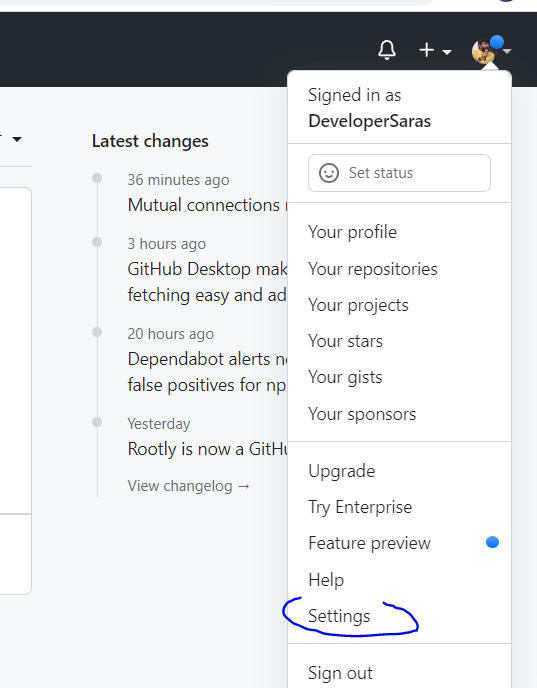
Step 1: After logging into your github account, go to settings as shown below
Step 2: Click on the ‘SSH and GPG keys’ menu as shown below

Step 3: Click on ‘New SSH Key’ button

Step 4: Go to the directory where you have saved your private/public key pair
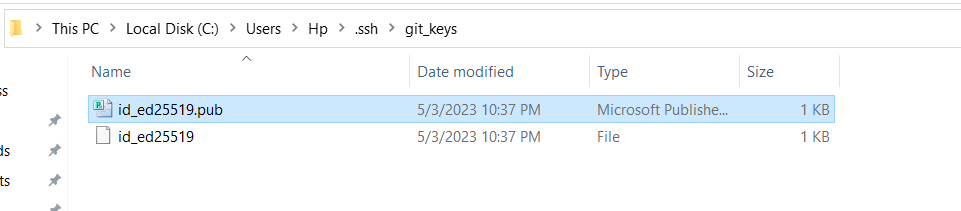
Step 5: Open the public key(file with .pub extension) with notepad or notepad++ and copy its content

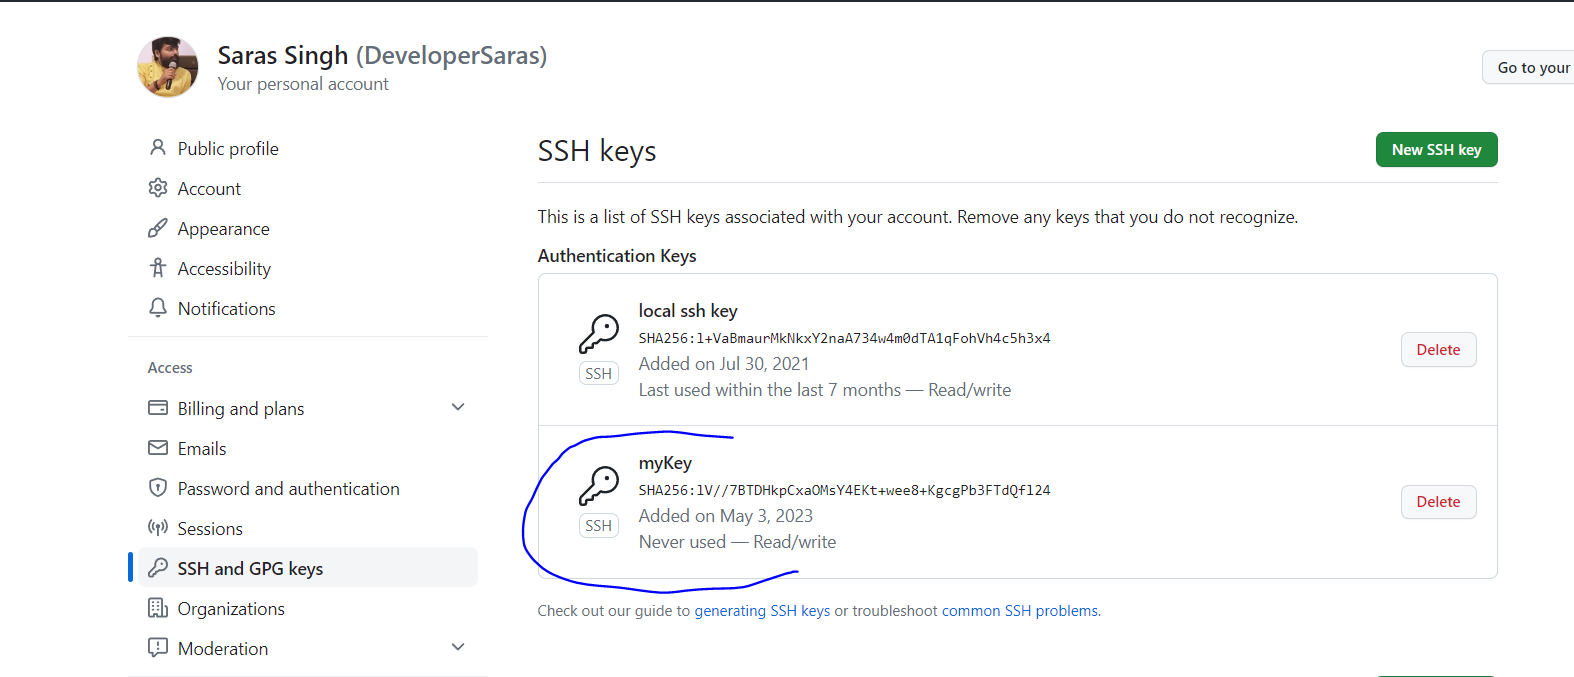
Step 6: Now, go to GitHub account and enter the value copied as shown below. Title of the key can be given according to the choice. In this example, it is given as myKey
Click on ‘Add SSH key’ button.

Step 7: Upon successful completion, it will look like below
- Home
- Java
- Java Fundamentals
- What is Java
- History of Java
- Java Version History
- Local Environment Set-up
- First Java Program
- How to set ‘Path’ env variable
- JDK, JRE, and JVM
- Object Oriented Programming
- Java Data Types
- Classes in Java
- Objects in Java
- Interfaces in java
- Class attributes and methods
- Methods In Java
- Variables and Constants in Java
- Java packages and Imports
- Access Modifiers In Java
- Java Operators
- Constructors in Java
- Control Statements – If else
- Control Statements – Loops
- Arrays in Java
- Java Abstraction
- Java Inheritance
- Polymorphism
- Java Exception Handling
- Strings in Java
- File IO
- Java Miscellaneous
- Design Patterns
- Java Fundamentals
- Collections
- Multithreading
- Java New Features
- Servlet
- JSP
- Spring
- Spring-Introduction
- First Spring Application
- Setter Injection
- Constructor injection
- Spring annotations
- Autowiring
- @Autowired Annotation Spring
- Spring MVC
- Spring JdbcTemplate
- Spring jdbcTemplate with MySQL
- Spring AOP
- Spring AOP Examples
- Various pointcut expressions in Spring AOP
- Download and configure Tomcat server
- Hibernate
- Architecture
- Hibernate Example
- First Hibernate Application (using xml configuration)
- First Hibernate Application (using annotations)
- JPA/HB – annotations
- Hibernate Identifiers
- Hibernate Generator Classes
- Save vs saveOrUpdate vs persist in Hibernate
- Inheritance Mapping in Hibernate
- Inheritance Mapping using annotations
- Hibernate Mapping
- Hibernate Query Language (HQL)
- HCQL Hibernate Criteria Query Language
- Hibernate Named Query
- Hibernate Caching
- Second Level Cache
- Spring Boot
- Spring Boot Basics
- Spring Boot Web
- Spring Boot Exception Handling
- Service discovery using Netflix Eureka
- Springboot OpenAPI/Swagger3
- Zuul Proxy Server + Routing
- Spring Cloud Gateway
- Spring Boot Security
- Circuit Breaker using Spring Boot Hystrix
- Interservice Communication
- Spring Boot Hateoas Links Example
- Lombok api
- Spring Boot with Mongo DB
- Load Balancer in Springboot
- Spring Boot Testing
- Spring Web Flux
- Database
- Web Service
- HTML
- Blog & Programs
- Docker
- Trainings